
Table of Contents
- Step 1: Measure Your Wine Cellar Dimensions
- Step 2: Calculate Wine Cellar Storage Capacity
- Step 3: Choose Your Wine Cellar Rack Layout
- Step 4: Design for Small Wine Cellar Spaces
- Step 5: Plan Aisle Clearance and Accessibility
- Step 6: Coordinate Temperature Control and Room Envelope
- Step 7: Create Your Final Wine Cellar Layout Plan
- Frequently Asked Questions
Last Updated: October 15, 2026
Step 1: Measure Your Wine Cellar Dimensions
Every successful wine cellar layout starts with accurate measurements. Measure length, width, and height, checking multiple spots along each wall, older homes and irregular spaces often vary.
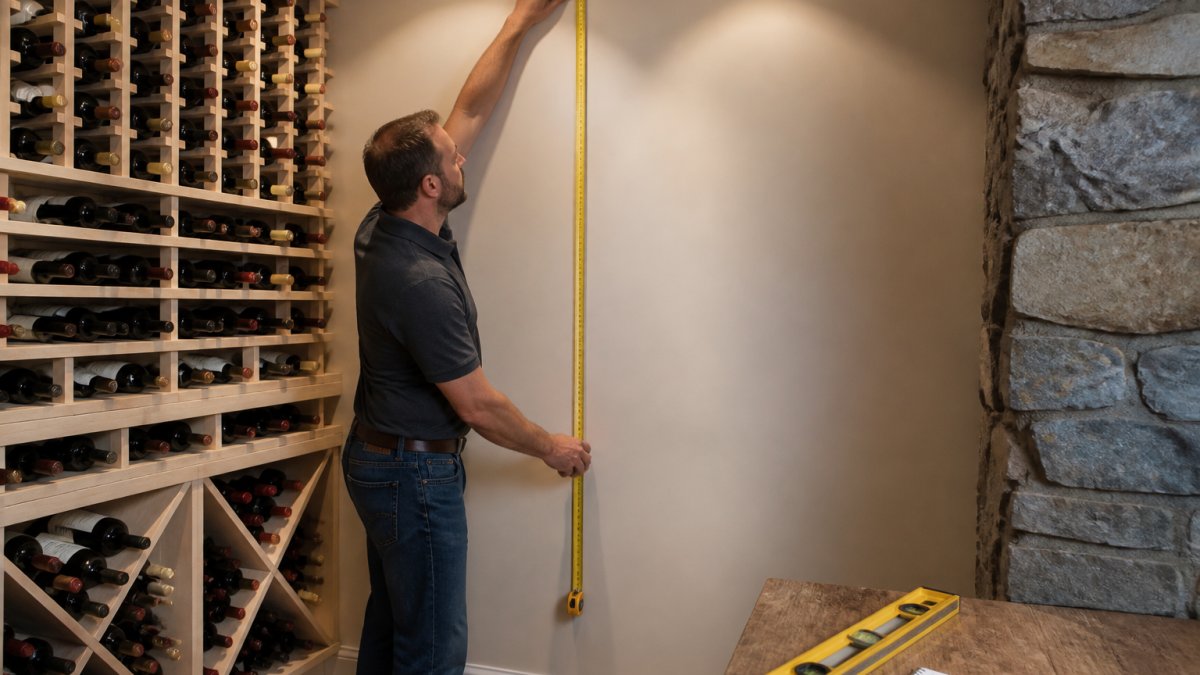 Person measuring a wine cellar wall with a tape measure, showing floor-to-ceiling measurement with a level and notepad nearby
Record floor plan measurements
Sketch a basic floor plan, marking doorways, windows, and structural features like columns or pipes.
Pay attention to:
- Door swing direction (how much space does it actually take up?)
- Window placement and size
- Electrical outlets and switches
A rough floor plan shows how racks will fit and prevents ordering a system that won't work with your door or features.
Account for ceiling height and structural features
Ceiling height determines how many rows you can stack vertically. Standard bottles are about 12 inches tall, so an 8-foot ceiling fits roughly 6-7 rows depending on rack depth.
Check for:
- Popcorn ceilings or textured surfaces that might complicate installation
- Sprinkler heads or fire suppression systems
- HVAC ducting or other overhead obstacles
These overhead features often force layout adjustments, a sprinkler head in the wrong spot might mean shifting rack placement.
Step 2: Calculate Wine Cellar Storage Capacity
Next, figure out how many bottles you need to store today and in the future.
Estimate your collection size and future growth
Most casual collectors underestimate growth, someone with 100 bottles today often has 300 within three years.
Think honestly about your habits: bottles bought per year, long-term aging plans, and whether this cellar holds your entire collection or just part of it.
If you're building a dedicated wine cellar, design for at least 50% more capacity than you currently need so you can expand without a redesign.
Account for bottle variety and rack depth
Not all bottles are the same size: Burgundy bottles are narrower than standard Bordeaux, and larger formats like magnums need different spacing. Most modular wine racks are designed for standard bottles, so plan for that variation:
| Bottle Type | Width | Typical Storage Need |
|---|---|---|
| Standard Bordeaux | 3 inches | 70% of most collections |
| Burgundy (narrower) | 2.75 inches | 15% of most collections |
| Large format/Magnum | 4+ inches | 10-15% of most collections |
Rack depth also affects capacity: shallower racks hold fewer bottles per linear foot but suit tight spaces, while deeper racks maximize storage on wider walls. At Winerack Solutions, our VintageView racks come in different depths.
Step 3: Choose Your Wine Cellar Rack Layout
Once you know your space and capacity needs, pick a rack configuration that works for your collection.
Select rack configurations for your space
Your wine cellar layout depends on wall availability, ceiling height, and how you want to display your collection, most cellars combine approaches.
Common configurations include:
- Full-wall systems: Floor-to-ceiling racks that maximize vertical space
- Partial walls: Racks that cover one or two walls, leaving space for a tasting table or seating
- Corner installations: Racks that wrap around room corners
The best choice depends on your room layout and use, a restaurant needs different thinking than a private home cellar.
Plan display rows versus storage rows
Not every bottle needs to be visible, most collectors mix display and storage.
Display rows:
- Show off your best or rarest bottles
- Placed at eye level (roughly 48-66 inches from floor)
- Work best with dramatic lighting
Storage rows:
- Hold everyday wines and bulk inventory
- Can go higher or lower without sacrificing usability
- More bottles per square foot
A practical split for most cellars is 30% display and 70% storage.
Step 4: Design for Small Wine Cellar Spaces
Not everyone has a dedicated 200-square-foot wine room. Many collectors work with closets, under-stair spaces, or small wall sections in kitchens and dining areas.
Maximize vertical storage in compact areas
Vertical storage is your friend in small spaces: a 4-foot-wide wall with 8-foot ceilings can hold surprisingly many bottles.
Stack racks floor to ceiling and that single wall section holds 150-200+ bottles, serious capacity in minimal footprint.
Shallow racks (12-14 inches deep) work better in tight spaces because they don't protrude as far; they hold fewer bottles per unit, but the space savings usually outweigh that trade-off.
Use modular systems for irregular shapes
Irregular spaces are where modular wine racks shine, under-stair spaces, sloped ceilings, and odd-angled corners stop traditional fixed racks but work fine with modular systems.
VintageView's modular approach lets you:
 Matte Black Modular Wine Wall - WS8
- Adjust individual rack heights to fit sloped ceilings
- Combine different rack sizes on the same wall
- Reconfigure later if your needs change
If your collection grows or your priorities shift, you can adjust without replacing everything.
Step 5: Plan Aisle Clearance and Accessibility
A wine cellar that's hard to use is one you'll avoid. Aisle width and accessibility matter more than most people realize, and this is where most layout plans quietly fail.
Aisle width: the working numbers
Aisle width is measured from the front face of one rack to the front face of the rack opposite it, not wall to wall.
| Aisle width | What it supports |
|---|---|
| Under 24 inches | Not workable. You cannot pull a bottle without turning sideways, and you will stop using the back rows. |
| 24-30 inches | Single-user cellar. Workable for one person pulling bottles straight out. Tight for carrying a case or a decanter. |
| 36-42 inches | Comfortable single-user plus room to crouch, set down a bottle, or open a drawer. The most common target for private cellars. |
| 48 inches and up | Two people passing, hospitality service, or wheelchair turning radius. Required if the cellar doubles as a tasting or tour space. |
For a single-person cellar, 24-30 inches is workable; for two people or hospitality, 36-48 inches is better. If guests walk through, plan 48 inches minimum.
Reach zones: where bottles actually get used
Vertical reach determines which bottles you actually drink and which get forgotten. Divide your wall into three zones:
Matte Black Modular Wine Wall - WS8 →
- Prime zone (roughly 30-66 inches from the floor): Eye level to waist. This is where you should place your most-used bottles and your display rows. No bending, no stretching.
- Secondary zone (roughly 12-30 inches and 66-78 inches): Requires a bend or a short reach. Fine for everyday storage and mid-tier bottles.
- Storage zone (below 12 inches and above 78 inches): Requires kneeling or a step stool. Reserve this for long-term aging bottles you won't touch for years, or bulk inventory you access seasonally.
A common pattern: display rows in the prime zone, everyday bottles in the secondary zone, and aging inventory in the storage zone.
Accessibility considerations
If anyone in the household has limited mobility, or the cellar is in a hospitality setting, plan accessibility from the start:
- Keep at least one full wall of primary storage within the 30-66 inch prime zone so no bottle requires bending or a ladder.
- A 60-inch turning circle at the end of an aisle lets a wheelchair or a service cart turn around.
- Lever-style door handles and low-threshold doors are easier to operate than round knobs and raised sills.
How aisle width interacts with rack depth and door swing
This is the calculation most plans miss. An 8-foot-wide room with 14-inch-deep racks on both long walls leaves 68 inches of actual aisle, comfortable. Swap in 20-inch racks and you're down to 56 inches.
Door swing is the other hidden consumer of aisle space.
Before you order racks, tape the aisle width on the floor with painter's tape and walk it. A 30-inch aisle looks generous on a floor plan and feels narrow in person. Five minutes with tape prevents a layout you resent.
Cellars where two or more people will use the space regularly, hospitality settings, or any layout where accessibility needs to be built in from day one.
Step 6: Coordinate Temperature Control and Room Envelope
Your room environment protects your collection, and your layout decisions directly determine how hard your cooling system has to work. Rack placement, wall coverage, door position, and lighting all feed into the cooling load, treat layout and envelope as one system.
Temperature stability beats the exact number
Wine prefers 45-65°F depending on style, but consistency matters more than the exact number, big swings damage wine faster than steady warmth. A cellar holding 58°F year-round is healthier than one swinging between 50°F and 70°F.
What causes swings:
- Undersized cooling systems that run constantly and never keep up
- Oversized systems that short-cycle
- Poorly sealed doors that let room air in
How layout decisions change the cooling load
Every one of these layout choices affects how much cooling capacity you need:
- Wall coverage: Racks on all four walls leave less exposed surface for heat transfer, but block airflow. Leave a 2-3 inch gap behind racks so air circulates.
- Door position and type: A frequently opened door, or one facing a warm kitchen, adds load. Use an insulated exterior-grade door with a good perimeter seal, away from direct sun and heat-producing appliances.
- Lighting: Incandescent and halogen fixtures add heat; LED produces almost none. Spec LED and keep fixtures out of the rack cavity.
The room envelope: insulation, vapor, and sealing
A well-sealed, insulated room needs less cooling capacity than a drafty one, sometimes dramatically less.
- Insulation: Insulate walls, ceiling, and floor to reduce outside temperature swings. Higher R-value means less runtime; spray foam and rigid board also act as vapor barriers when installed correctly.
- Vapor barrier: Warm air holds more moisture than cold, and when it reaches a cold cellar wall it condenses, feeding mold and damaging labels. A continuous vapor barrier on the warm side of the insulation keeps moisture out, gaps and tears defeat it.
- Door sealing: A cellar door needs a perimeter gasket and a bottom sweep. An insulated exterior-grade door with magnetic or compression seals is the standard.
Sizing the cooling system to the room, not the bottle count
Cooling systems are sized by the room's heat load, not bottle count, two cellars with the same bottle count can need very different systems if one is well-insulated and the other isn't.
Work with your installer to calculate capacity, bringing your layout plan, wall coverage, door position, lighting, and envelope details, so they can size the system to the actual room.
Don't finalize rack placement before you've confirmed cooling unit clearance and airflow paths. Moving a rack after the cooling system is installed is far more disruptive than planning the clearance from the start.
If you're converting an existing room, check whether the walls already have a vapor barrier. Retrofitting one behind finished walls is expensive; discovering it's missing after the racks are installed is worse.
Layout and envelope are one system. Rack placement, door position, lighting, and insulation all feed into the cooling load. Plan them together and your cellar holds steady temperature with less equipment and less energy.
Step 7: Create Your Final Wine Cellar Layout Plan
Now bring your measurements, calculations, and planning together into a final layout.
Sketch your layout and verify bottle capacity
Draw your final layout to scale, marking rack placement, aisle width, and obstacles, and verify everything fits against your earlier measurements.
Calculate total bottle capacity:
- Count your racks
- Multiply by bottles per rack (usually 30-60 depending on depth)
- Add overflow-area bottles
This verification step catches problems before you order. A quick sketch takes 15 minutes and saves you from ordering the wrong system.
Common mistakes to avoid during planning
Most people make the same planning errors. Knowing them helps you avoid costly fixes:
Underestimating growth. Design for 50% more capacity than your current collection.
Forgetting about door swing. Account for the swing radius in your aisle planning.
Ignoring ceiling obstacles. Sprinkler heads, ducts, and light fixtures force layout changes.
Mixing rack types without planning. Different racks have different depths and heights.
Skipping the accessibility test. Imagine pulling bottles from every height and position.
Your wine cellar layout should balance three things: capacity for your collection, accessibility for regular use, and room for growth. Get these three right and everything else follows.
Frequently Asked Questions
How do you create a wine cellar layout?
Start by measuring your space (width, depth, ceiling height), then calculate how many bottles you need to store. Choose rack configurations that fit your dimensions, plan aisle clearance for access, and arrange display rows at eye level with storage rows above and below. Sketch your final layout on paper or digitally, accounting for temperature control placement and future collection growth. VintageView's modular systems adapt to any floor plan, including irregular shapes and small spaces.
What should you consider when planning a wine cellar?
Plan for bottle capacity (standard bottles, large-format bottles, and future growth), room dimensions, ceiling height, aisle clearance, temperature and humidity control, lighting, and organization by wine variety or region. Also consider whether you want display rows visible at eye level or prefer maximum storage density. For hospitality venues, factor in durability and security. Modular rack systems let you adjust these priorities without permanent changes.
How much space do you need for a wine cellar?
The actual requirement depends on your collection size, bottle variety, desired aisle width (typically 60-90 centimetres for comfortable access), and whether you want display or storage emphasis. Small spaces under stairs or in unused corners can work with vertical modular racks if you prioritize capacity over movement.
How do you calculate wine cellar storage capacity?
Count the wall space available in linear metres, then multiply by the number of rack rows you can fit vertically (accounting for ceiling height). Each standard W33 rack holds 33 bottles; each W43 holds 43 bottles. For example, a 244 cm wall with ten W43 racks stacked vertically holds 360 bottles. Account for large-format bottles, which take more space than standard bottles. Always add 10-15% extra capacity for future growth to avoid outgrowing your system within a few years.