
Table of Contents
- What You'll Need to Install Modular Wine Racks
- How to Plan a Wine Cellar Wall Layout
- Wine Rack Spacing Best Practices
- Preparing Your Wall for Installation
- Step-by-Step Installation Process
- Best Wine Racks for Small Spaces
- Safety, Stability, and Maintenance
- Common Installation Mistakes to Avoid
- Frequently Asked Questions
Last Updated: September 19, 2026
What You'll Need to Install Modular Wine Racks
Gather the right tools and materials before you install modular wine racks to ensure a smooth installation.
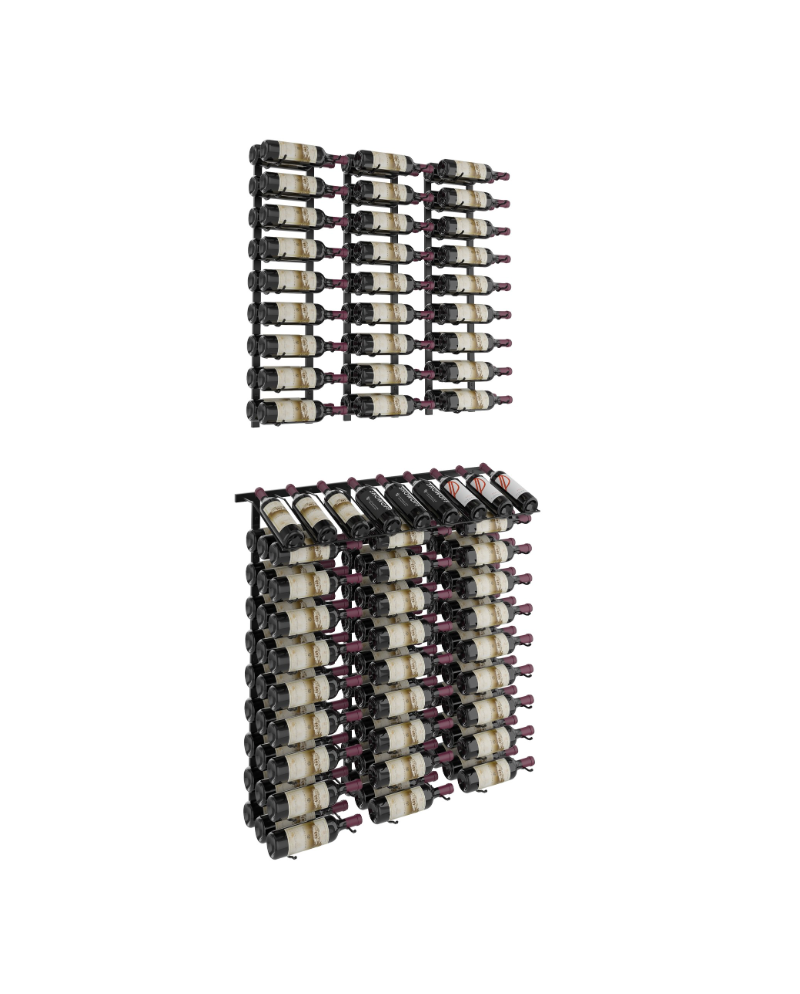 Matte Black Modular Wine Rack Display Kit (7-Piece Set)
Essential Tools:
- Power drill with bits for your wall type
- Stud finder (for locating load-bearing supports)
- Spirit level (for perfect alignment)
- Measuring tape
- Pencil for marking
- Screwdriver set
- Brad gun or nail gun (optional, for fastening)
Materials Depend on Your Wall:
- Wall anchors (for drywall installations)
- Toggle bolts (for heavy loads in drywall)
- Masonry drill bits (if drilling into brick or concrete)
- Fasteners and screws (provided with your modular system)
- Shims (for leveling uneven walls)
The VintageView modular wine racks come with mounting brackets and base plates. Check your kit to confirm what hardware is included before purchasing extras.
How to Plan a Wine Cellar Wall Layout
Careful planning prevents costly mistakes and ensures your collection displays beautifully.
Measuring Your Space
Use a measuring tape to record wall height and width. Measure from floor to ceiling at least three points, walls aren't always plumb. Note obstacles like outlets, switches, doorways, and windows that affect your design.
Calculating Weight Distribution
Calculate total weight: a standard wine bottle weighs about 1.5 pounds. Spread weight across multiple mounting points, never load all bottles onto a single section. Drywall with proper anchors typically handles 10-25 pounds per anchor point; masonry and studs handle significantly more. Never exceed your fastening system's limits.
Wine Rack Spacing Best Practices
Proper spacing affects both functionality and aesthetics. Bottles need room to sit securely without crowding, and your display should look balanced.
Space horizontal racks 12-18 inches apart for easy access and visual balance. Most horizontal bottles require roughly 5 inches of vertical space per bottle plus bracket thickness. Leave at least 6 inches between your display and adjacent features like doorframes to prevent a cramped appearance.
Preparing Your Wall for Installation
Wall preparation determines installation longevity. Fastening strategy depends entirely on your wall type.
Identifying Your Wall Material
Drywall (gypsum board over wood studs) is most common. Fasteners must anchor into studs or use specialized hardware to distribute weight. Masonry (brick, concrete block, or poured concrete) is solid throughout and common in basements and older homes. Plaster over lath (pre-1980 homes) is harder and more brittle than drywall, requiring different drilling techniques.
Look at the wall's edge near an outlet to identify type: drywall shows a paper-covered gypsum core; masonry shows brick or concrete; plaster shows a hard, smooth surface. If unsure, drill a small test hole (1/8 inch) in an inconspicuous spot, drywall breaks through easily, masonry requires steady pressure and produces dust.
Locating Wall Studs and Structural Points
Use a stud finder to locate studs (typically spaced 16 inches apart). Mark stud locations with a pencil. Studs provide maximum load capacity, typically 25+ pounds per fastener with wood screws. If your layout doesn't align with studs, use wall anchors or toggle bolts for sections between studs, but position your heaviest sections over studs whenever possible.
Fastener Selection by Wall Type
For drywall with stud backing: Use 2.5-3 inch wood screws. Pre-drill a pilot hole to prevent splitting. For drywall without studs: Expansion anchors hold 10-15 pounds per anchor; toggle bolts hold 25-50 pounds per anchor. For masonry: Use concrete anchors or lag bolts, drilling slowly with a carbide-tipped bit. Masonry anchors support 40-60 pounds per anchor. Avoid mortar joints; drill into solid brick or concrete. For plaster: Use toggle bolts or plaster anchors, drilling slowly to avoid cracking.
Preparing the Surface
Clean the wall surface with a damp cloth and let it dry. For textured surfaces, lightly sand the mounting area for full contact. For uneven masonry, have shims ready to level base plates.
Step-by-Step Installation Process
Now that you've planned and prepped, installation follows a logical sequence. Take your time with each step.
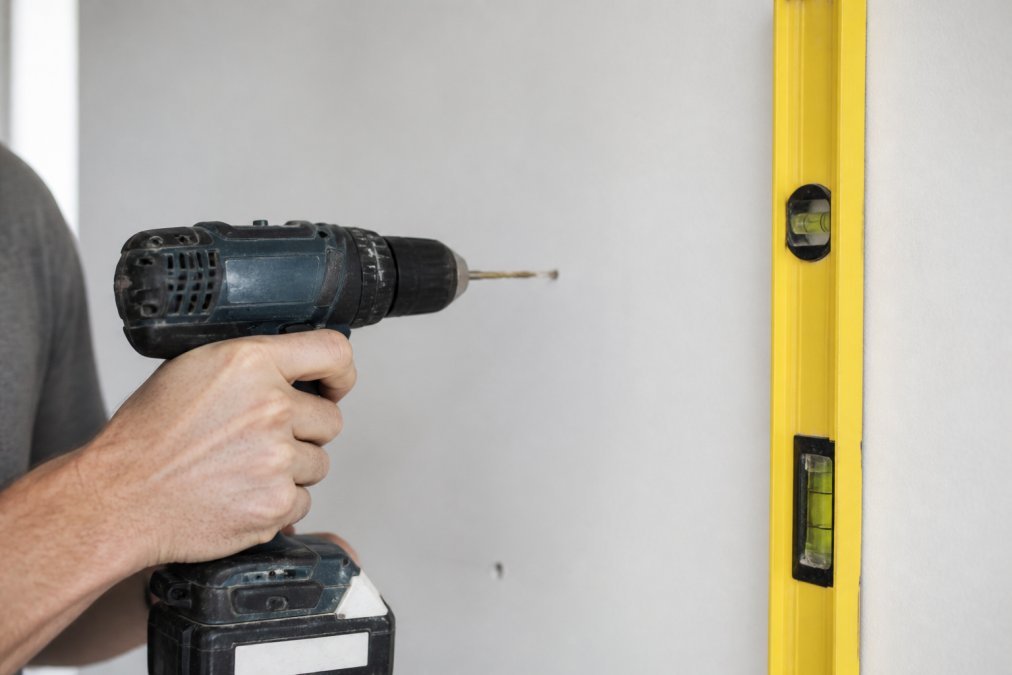 Step-by-step diagram showing how to drill pilot holes into drywall to install modular wine racks securely.
Step 1: Mark Your Mounting Points
Transfer measurements to the wall with a pencil. Use a spirit level to draw a horizontal line at the height of your first section. Mark pilot hole locations according to your system's specifications. Double-check all measurements before drilling.
Step 2: Drill Pilot Holes and Install Fasteners
Drill pilot holes slightly smaller than your fastener diameter. For drywall, insert wall anchors or toggle bolts; for masonry, use a masonry bit and drill slowly. Tighten fasteners snugly without over-torquing. Test each by tugging gently, it should feel solid with no movement.
Step 3: Attach Mounting Brackets and Base Plates
Align the base plate's pre-drilled holes with the fasteners. Slide the base plate on and tighten securely. Use a level to confirm horizontal alignment; adjust shims if needed. Once level and secure, you're ready for modular frames.
Matte Black Modular Wine Rack Display →
Step 4: Assemble and Secure Modular Frames
Follow your system's assembly instructions to connect frames vertically and horizontally. Ensure each connection is tight. Periodically check level, a crooked frame at the bottom throws off everything above it.
Step 5: Level and Align Your System
Check the entire installation with a spirit level on multiple sections. If any section tilts, loosen fasteners and adjust shims until level. Tighten all fasteners fully and inspect from different angles.
Best Wine Racks for Small Spaces
VintageView's modular approach adapts to tight areas. The Matte Black Modular Floor-to-Ceiling Wine Rack Kit holds 63 bottles with a post-based system requiring no wall mounting, ideal for corners and alcoves. The Matte Black Modular Wine Rack Display Kit (7-Piece Set) displays 144 bottles in tight wall spaces. Build vertically in narrow areas and configure L-shaped layouts in corners to maximize space efficiency.
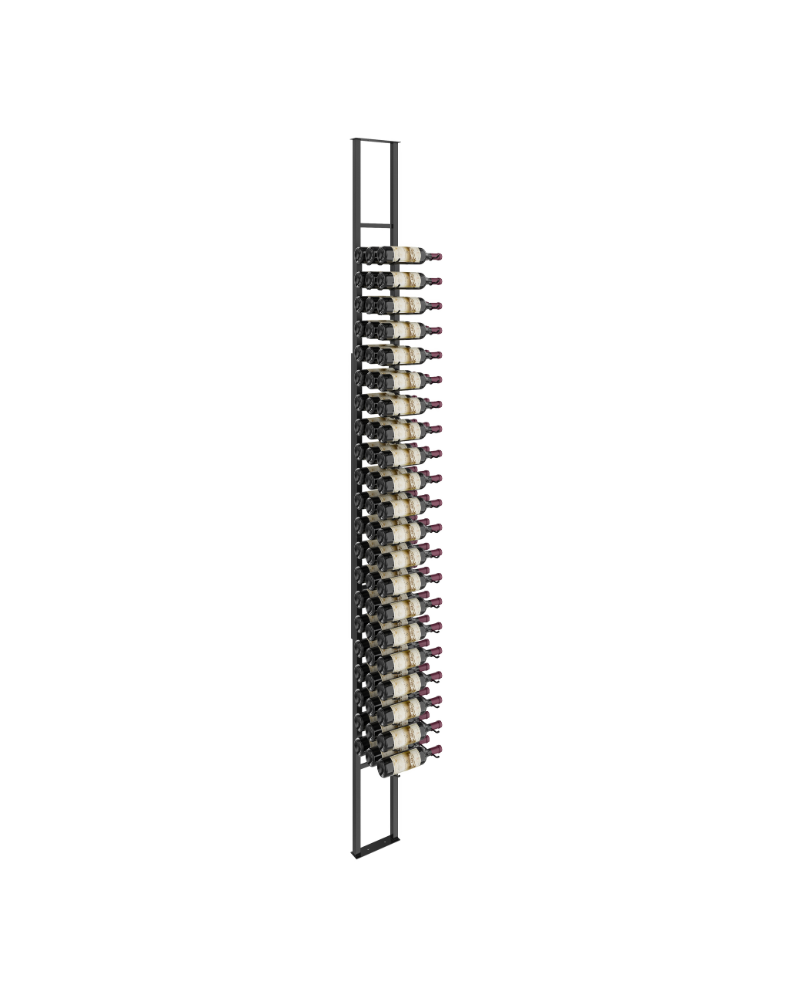 Matte Black Modular Floor-to-Ceiling Wine Rack Kit
Safety, Stability, and Maintenance
A secure installation protects your collection and home. Post-installation maintenance is critical and often overlooked.
Understanding Weight Capacity and Load Limits
Calculate total load: a standard wine bottle weighs approximately 1.5 pounds. Verify your fastening system capacity: drywall with expansion anchors holds 10-15 pounds per anchor; toggle bolts hold 25-50 pounds per anchor; wood studs hold 25+ pounds per fastener; masonry holds 40-60 pounds per anchor. Distribute weight across all fastening points. If your collection exceeds capacity, add more sections or upgrade fasteners.
Post-Installation Hardware Checks
First check (24 hours after installation): Verify all fasteners are tight before loading bottles. Tighten gently until snug without over-torquing. Monthly inspection: Check each fastener by hand, there should be zero movement. Look for visible cracks around mounting points, which indicate stress. Seasonal check: Check fasteners at the start of each season. After reconfiguring: Recheck all fasteners whenever you rearrange your display or add/remove bottles.
Tightening Protocol
For wood screws in studs: Tighten until snug with moderate hand pressure; stop if resistance increases suddenly. For expansion anchors: Tighten until fully expanded (slight resistance); do not continue tightening. For toggle bolts: Tighten until snug; stop at firm resistance. For concrete anchors: Tighten until snug; stop at firm resistance. Never use a power drill to tighten fasteners.
Identifying Failure Indicators
Catch problems early by recognizing warning signs.
Visible movement: If your display shifts when you remove or insert a bottle, fasteners are failing. Stop using the system and tighten all fasteners immediately. If tightening doesn't stop the movement, the fasteners may be damaged and need replacement.
Cracks radiating from fasteners: Small cracks around mounting points indicate stress. This is especially common in drywall.
Fasteners that won't tighten: If a screw or bolt spins without tightening, the fastener has stripped the material behind it. This is a failure point. Do not load bottles onto this section. Replace the fastener by:
- Removing the bracket
- Removing the failed fastener
- Moving to a new location (if in drywall) or using a larger fastener (if in masonry)
- Reinstalling the bracket
Maintenance Best Practices
Proper handling preserves your installation's integrity.
Avoid aggressive bottle removal: Smooth, controlled movements prevent stress on fasteners. Yanking bottles out forcefully creates sudden loads that can loosen hardware. Train anyone using the display to remove bottles gently.
Common Installation Mistakes to Avoid
Learning from others' mistakes saves time and prevents costly repairs.
Frequently Asked Questions
What tools do I need to install modular wine racks?
Essential tools include a power drill, stud finder, spirit level, measuring tape, and a pencil for marking. For drywall installation, you'll need appropriate wall anchors and fasteners; for masonry, use a masonry drill bit and toggle bolts. Having these tools ready ensures your modular wine racks are installed securely and level.
Can modular wine racks be installed on different wall surfaces?
Yes, modular wine racks work on both drywall and masonry walls, but installation methods differ. Drywall requires wall anchors and fasteners rated for your rack's weight. Masonry installation uses masonry drill bits and toggle bolts for load-bearing strength. Always verify your wall substrate before choosing fasteners, as proper anchoring is critical for safety and structural integrity.
How do I ensure my modular wine rack is level and stable?
Use a spirit level at every stage: when marking mounting points, after installing brackets, and once your frame assembly is complete. Check both horizontal and vertical alignment. Ensure fasteners are tightened to proper torque, and verify weight distribution across all mounting points. Proper leveling prevents bottles from rolling and protects your collection from damage.
How much weight can modular wine racks hold?
Weight capacity depends on wall substrate, fastener type, and rack configuration. Drywall installations typically support less weight than masonry; toggle bolts and load-bearing fasteners provide greater capacity. Calculate your total bottle weight before installation and choose fasteners rated for that load. Always verify capacity with your specific system to ensure safety and stability for your wine collection.